
Backup & Restore
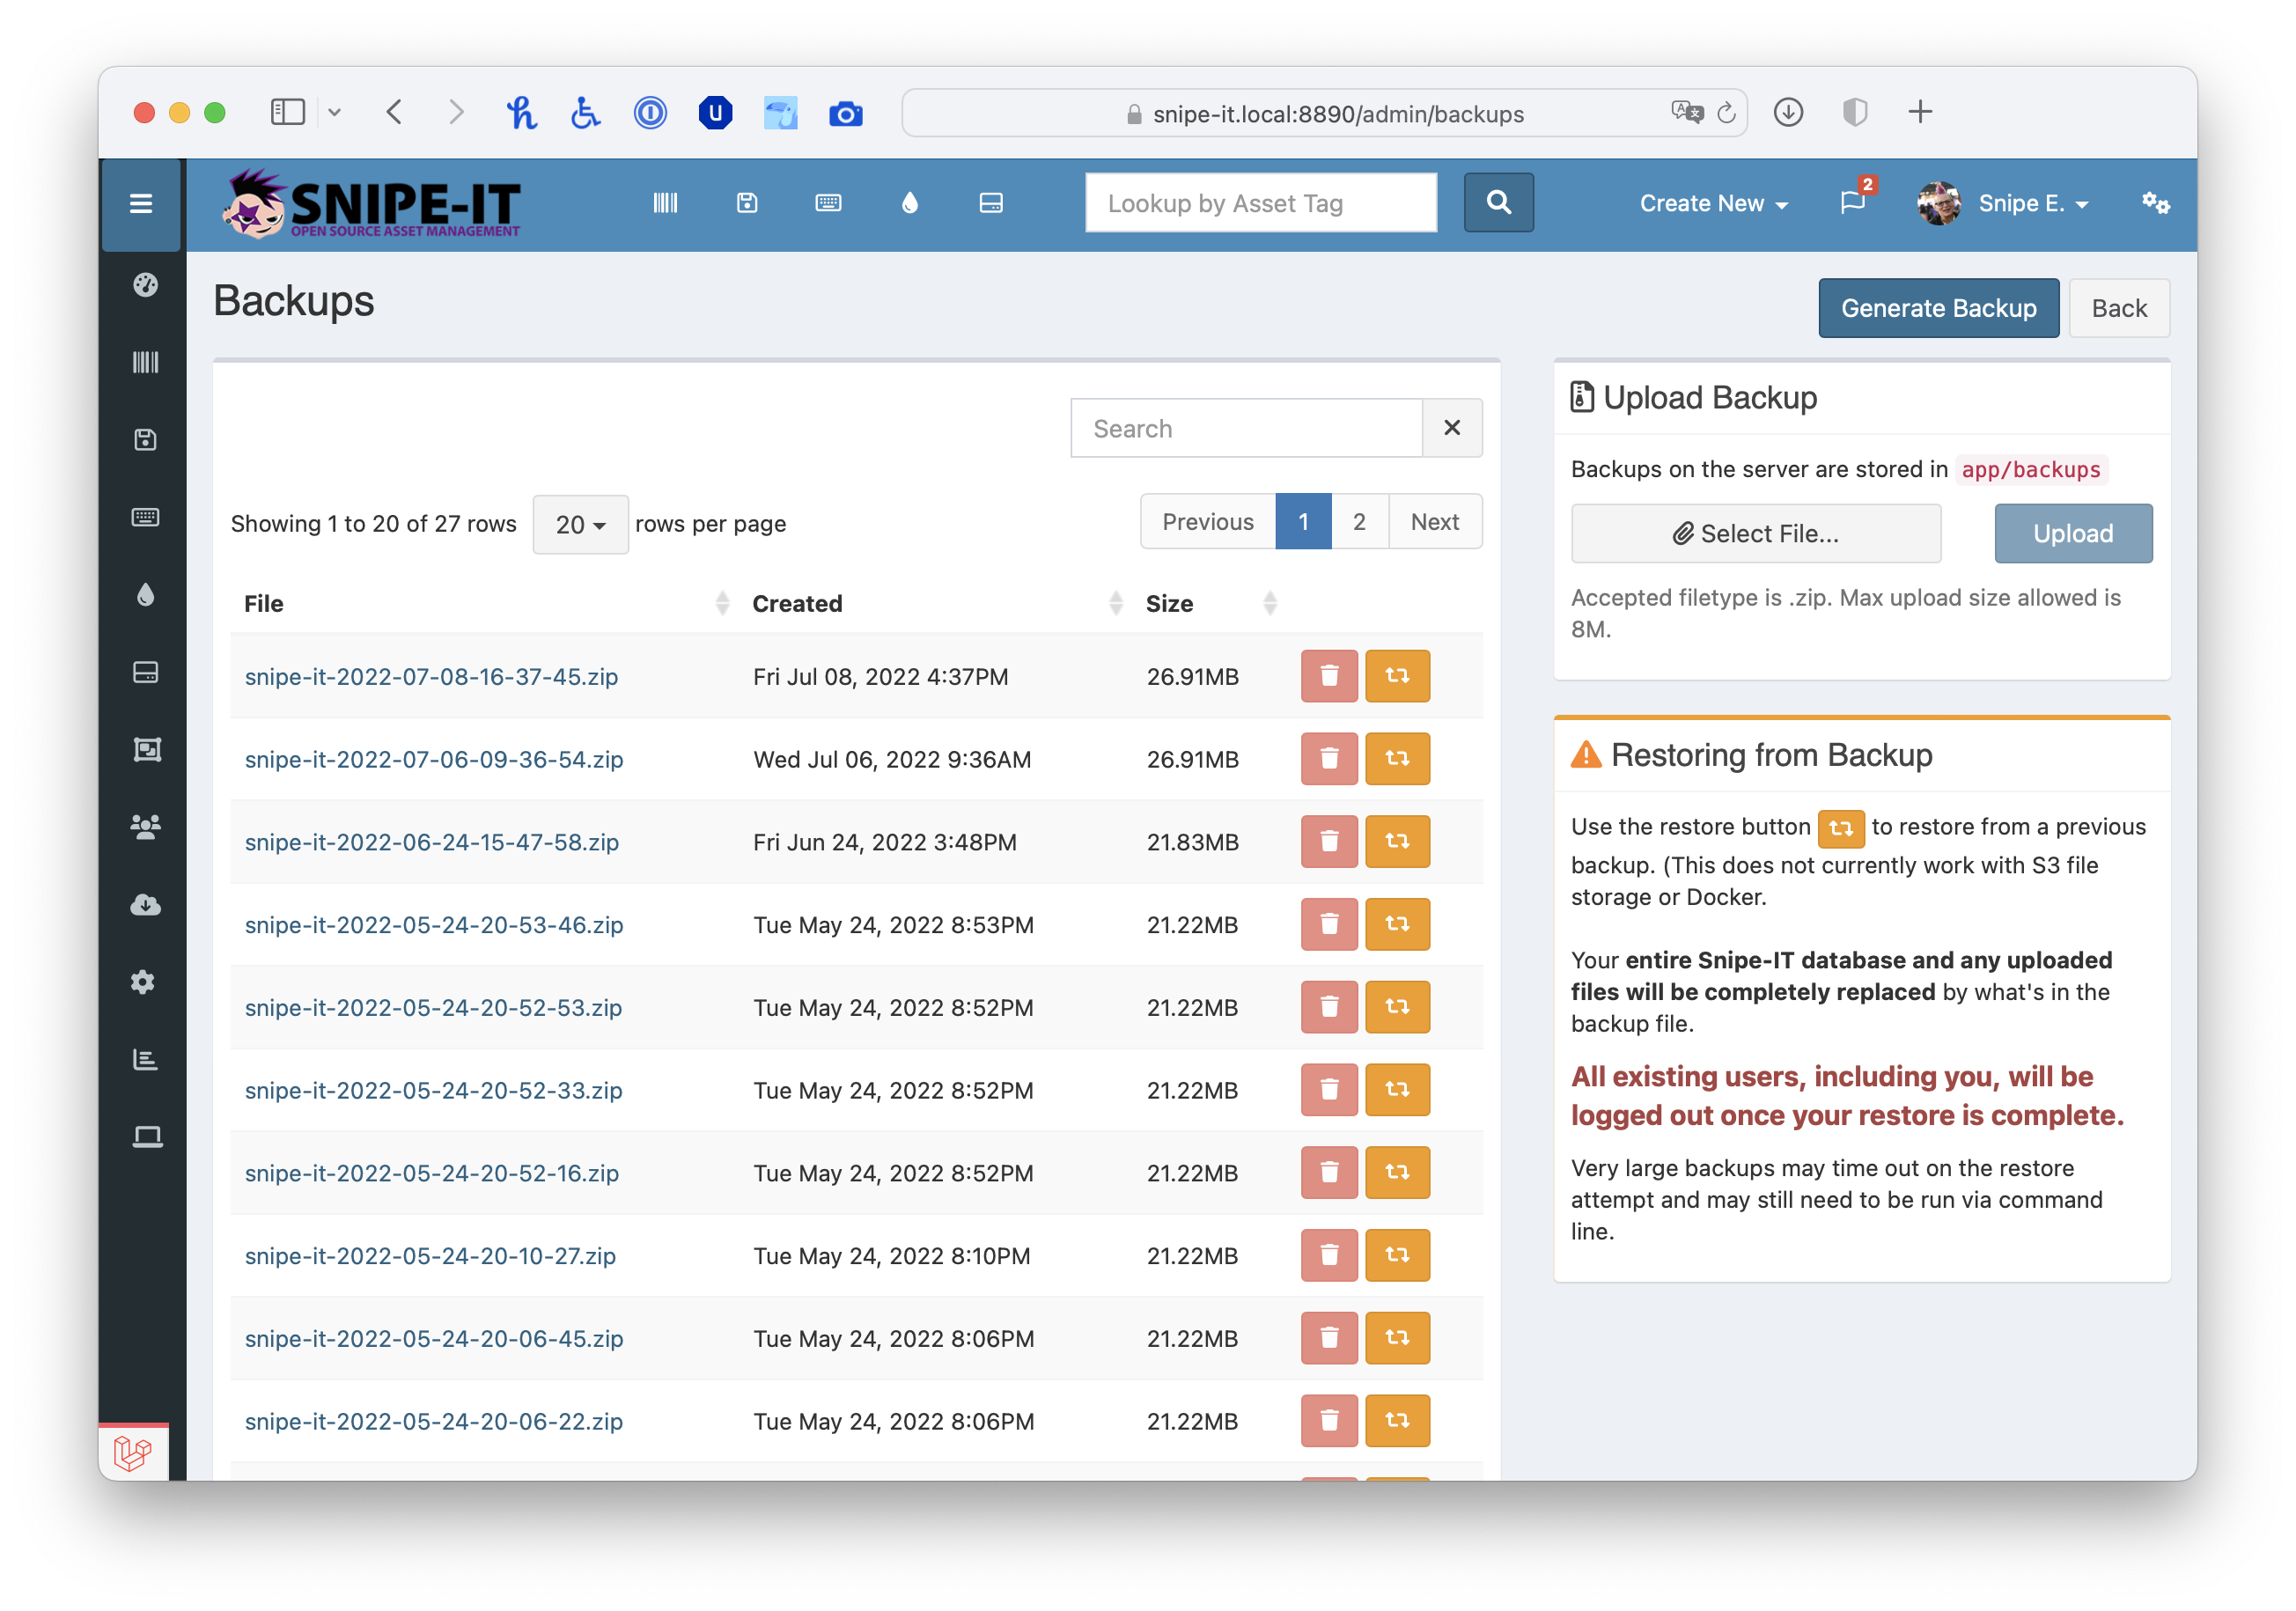
Snipe-IT comes with GUI-based and command line based backup and restore utilities. You can generate or download a backup in Admin > Backups through the web interface:
... or you can use the command line tool:
php artisan snipeit:backupThe Snipe-IT Backup utility will create a SQL dump of your database along with any images or file attachments you have uploaded, and zip them up with a timestamp.
For information on automating these backups to run periodically, see the documentation on configuring alerts and backups.
The restore utility will take an existing backup that was generated through Snipe-IT and will restore it to that point in time. This can be helpful if you made a mistake in importing and need to roll back to a previous known-good state, and can also be helpful if you're migrating Snipe-IT from one server to another.
NOTE:The restore utility will NOT modify an existing
.envfile. If there are settings in your old system that you need applied to the restored version, you will need to manually apply those changes in the.env.
Important!As mentioned in the Backup & Restore screen, restoring will log you and everyone else out of the system.
Assembling a Snipe-IT Compatible Backup File
If for some reason you can't get the Snipe-IT-generated backup to work (and for example have to do a manual database dump, etc), the file structure Snipe-IT is expecting in the .zip file you can assemble it yourself:
- SQL file should be at the top level. It can be named anything, but must end in
.sqland there must only be one. - You should have a
public/uploadsdirectory (with subdirectories) and astorage/private_uploadsdirectory (with subdirectories). - Anything else in the zip file will be skipped.


Then you should be able to upload the newly created backup file and use the web-based GUI restore tool.
Updated 4 months ago