
Branding
Snipe-IT comes with several options for changing the logo and colors for your Snipe-IT installation. Simply click on the Branding section in the Admin panel in the top right navigation menu.
That will open the Branding interface, where you can change the name of your app, upload logos, select a branding style (logo, text, or both), and select whether or not you want the emails that Snipe-IT generates to link back to your installation. (Disabling this can be helpful if the majority of your users don't interact with the app.)
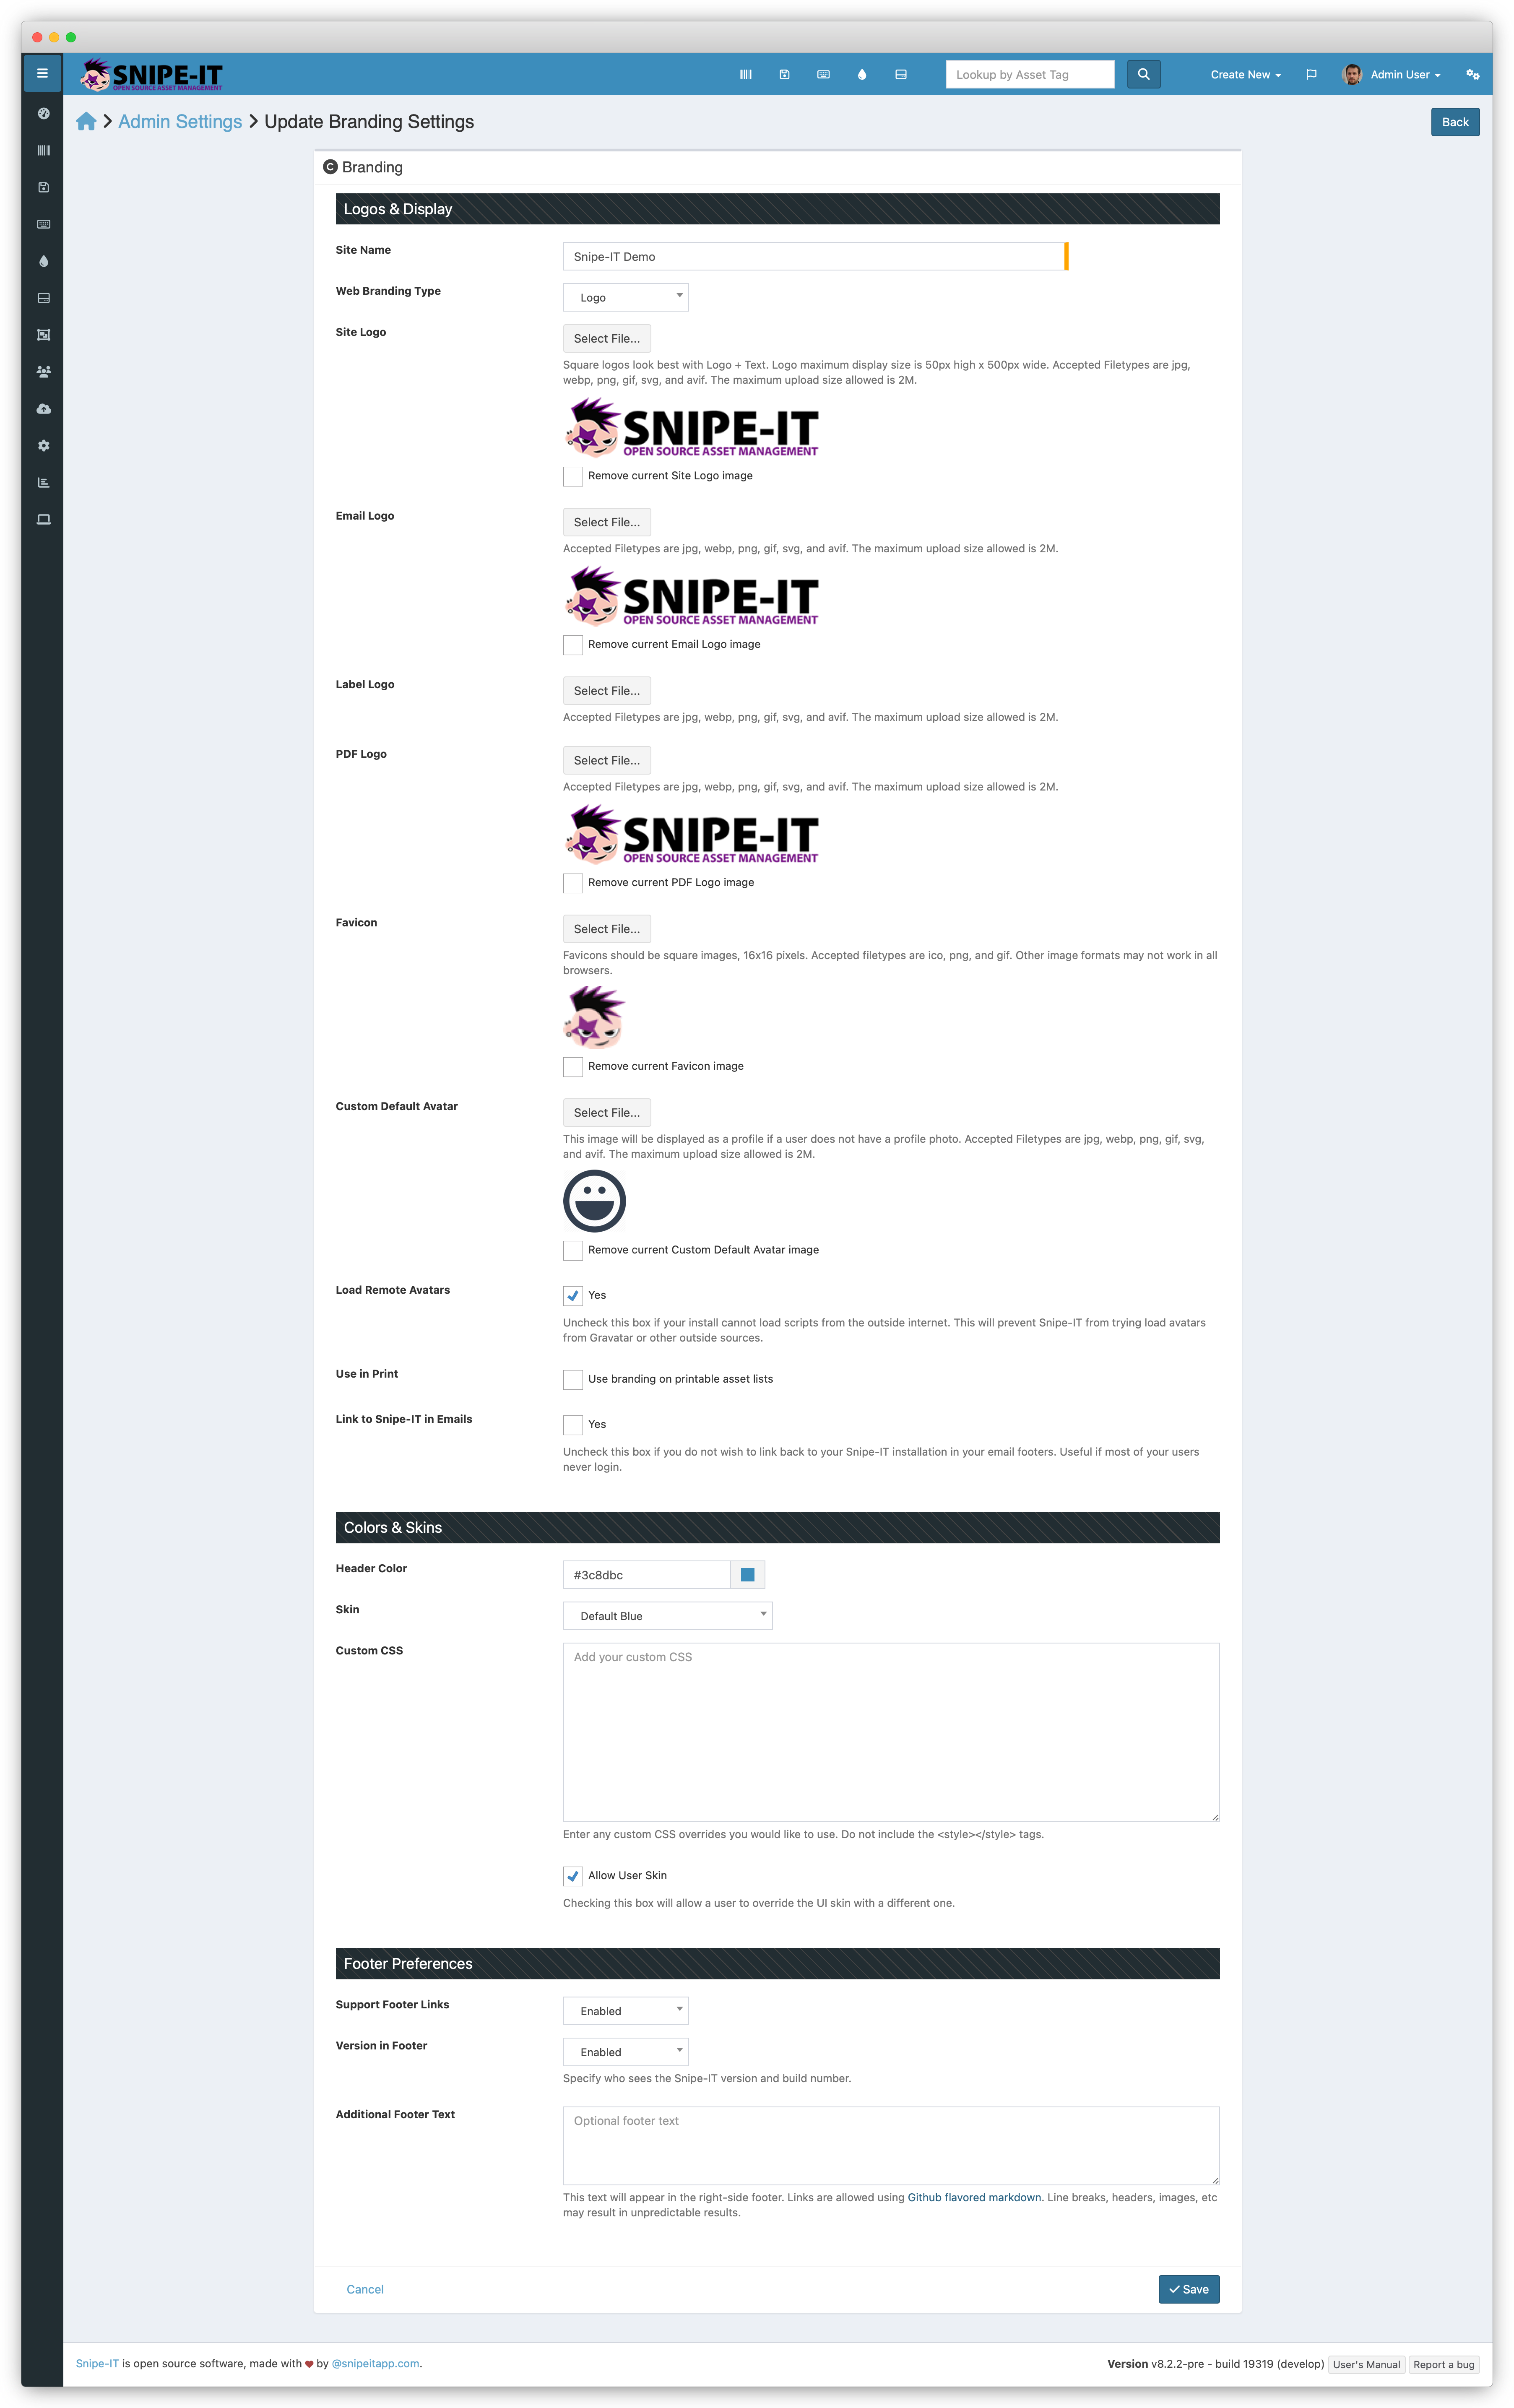
You'll also see a color picker tool that will allow you to select a header color from a palette, but if you know the hex code for the color you want, you may enter that directly as well.
Custom CSS
Snipe-IT also allows you much greater color customizations if you know a little CSS, by using the Custom CSS field.
In this text box, enter the CSS overrides you would like to use, without the <style></style> tags.
For example, the following custom CSS:
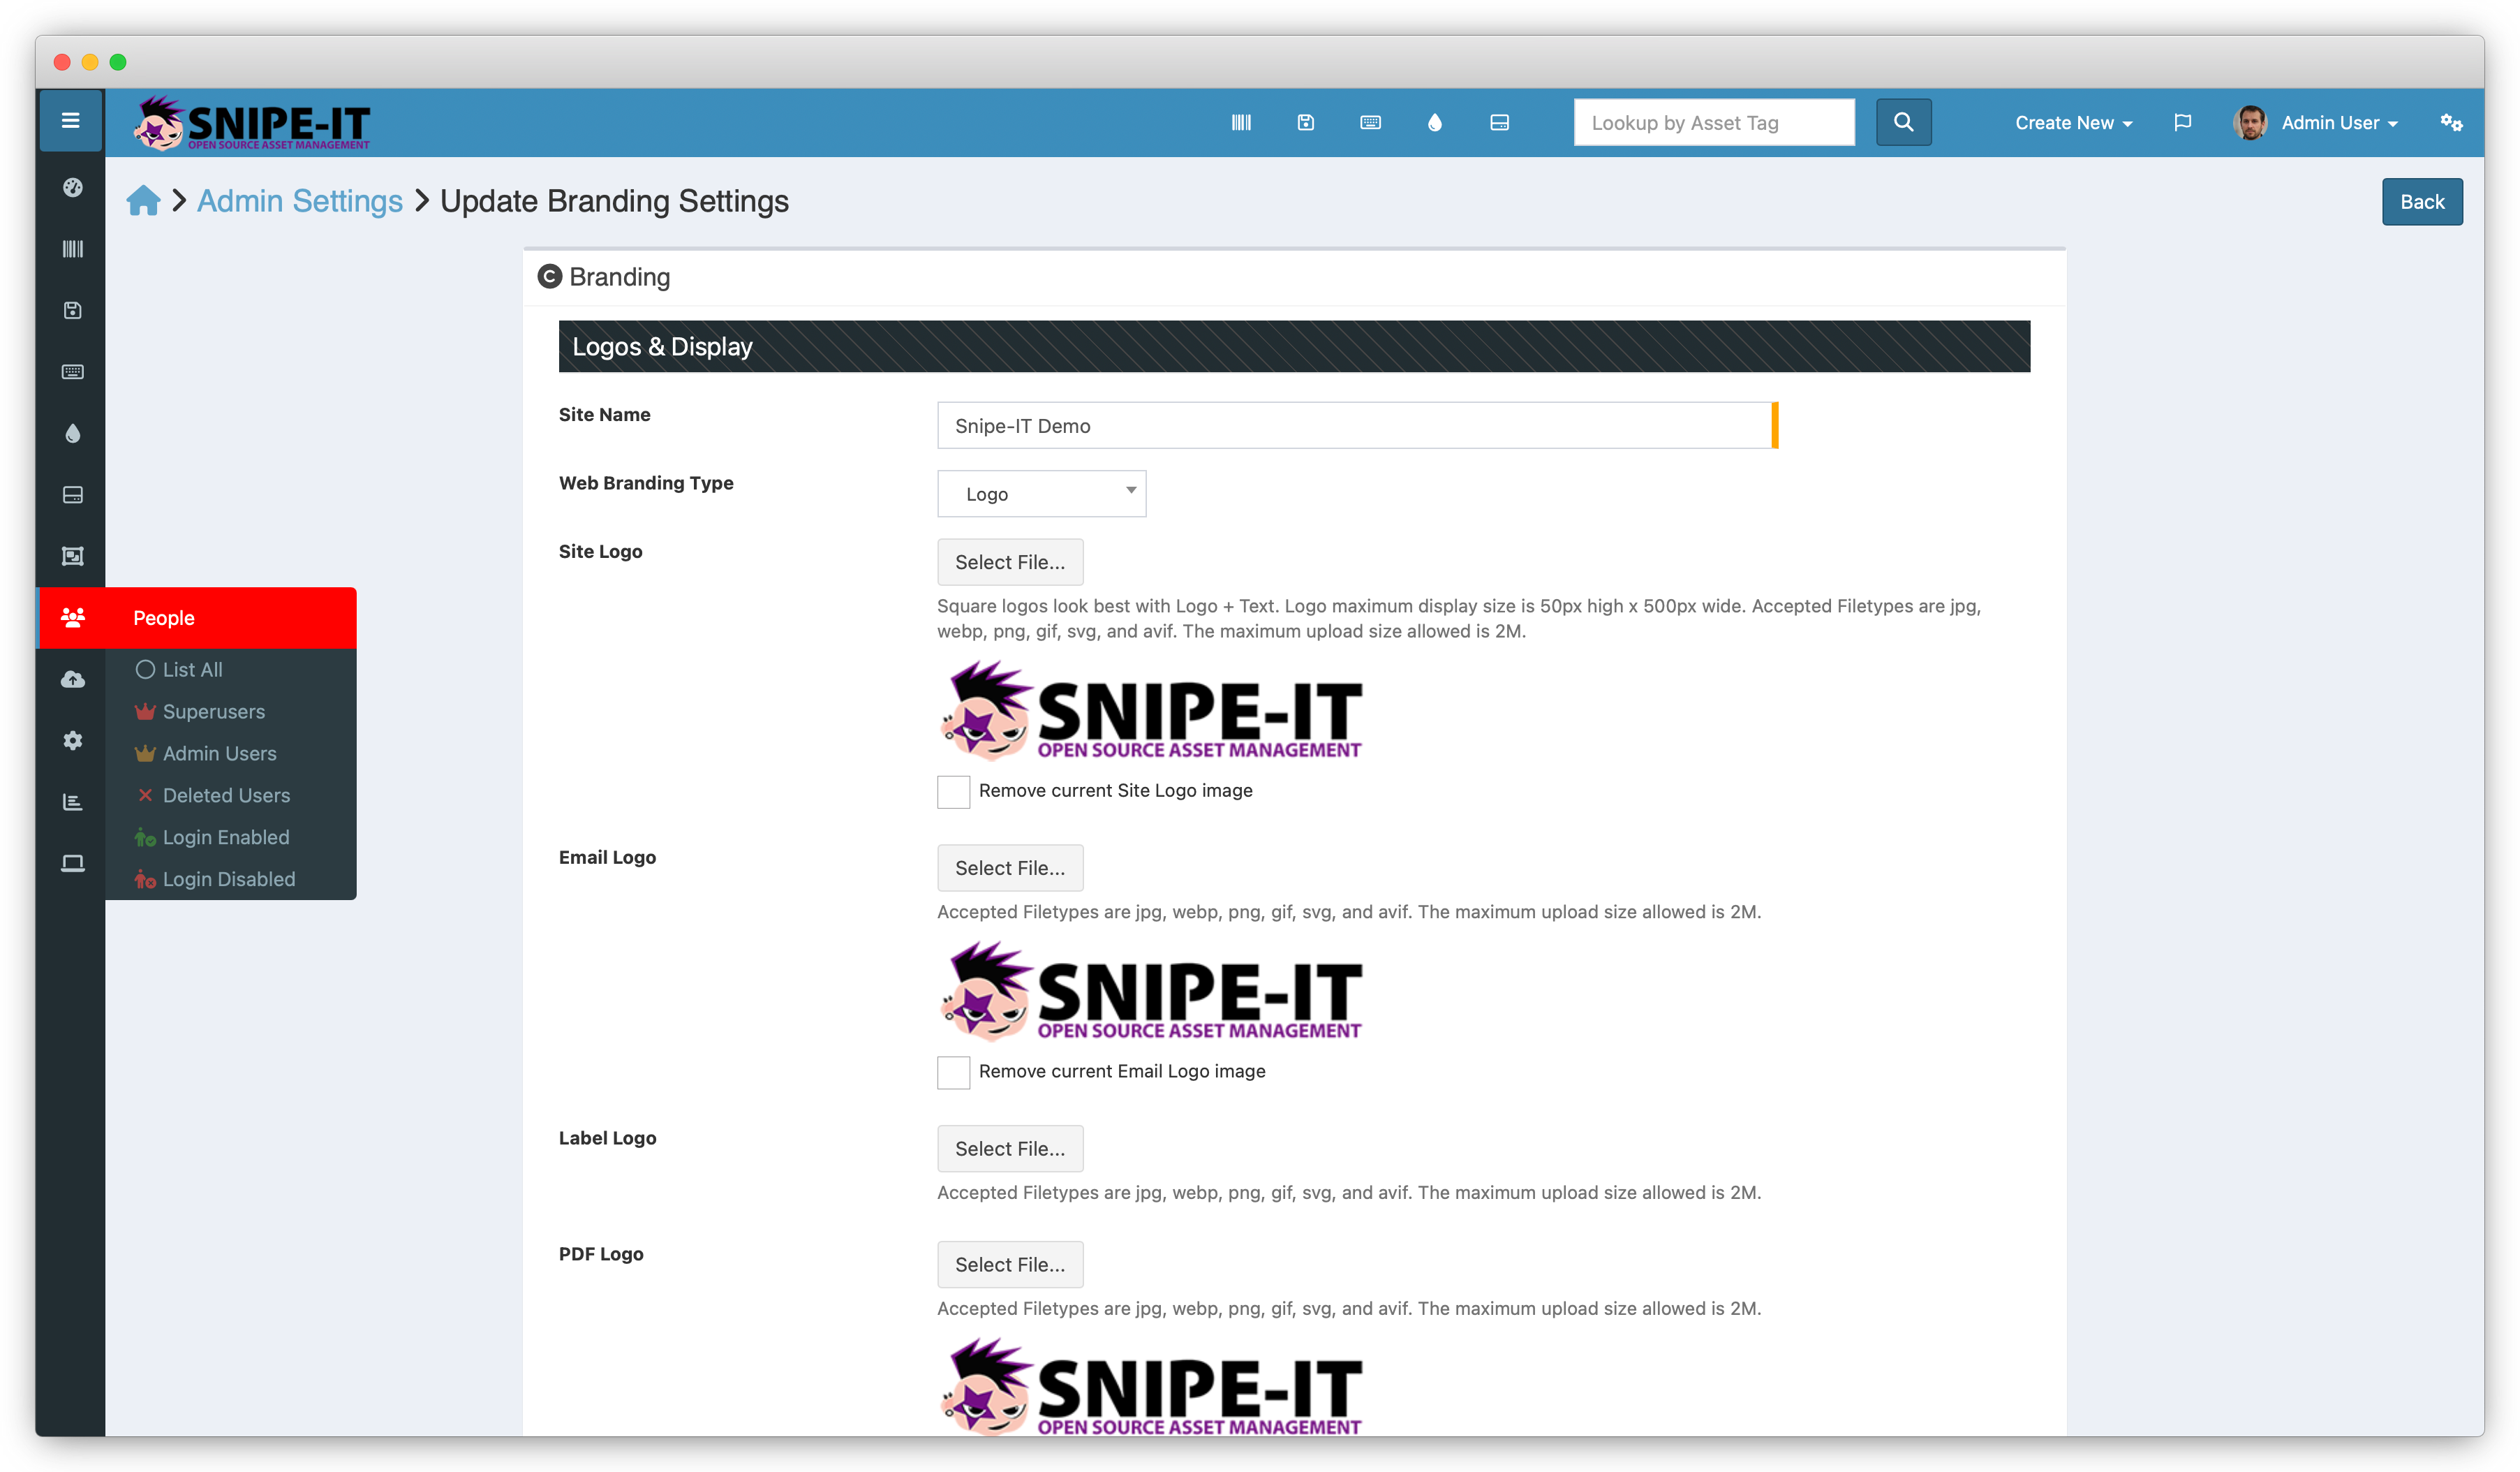
.skin-blue .sidebar-menu>li.active>a, .skin-blue .sidebar-menu>li:hover>a {
   background-color: red;
}
would modify the hover state of the sidenav, like this:
Updated 3 months ago