Pre-Flight & Setup
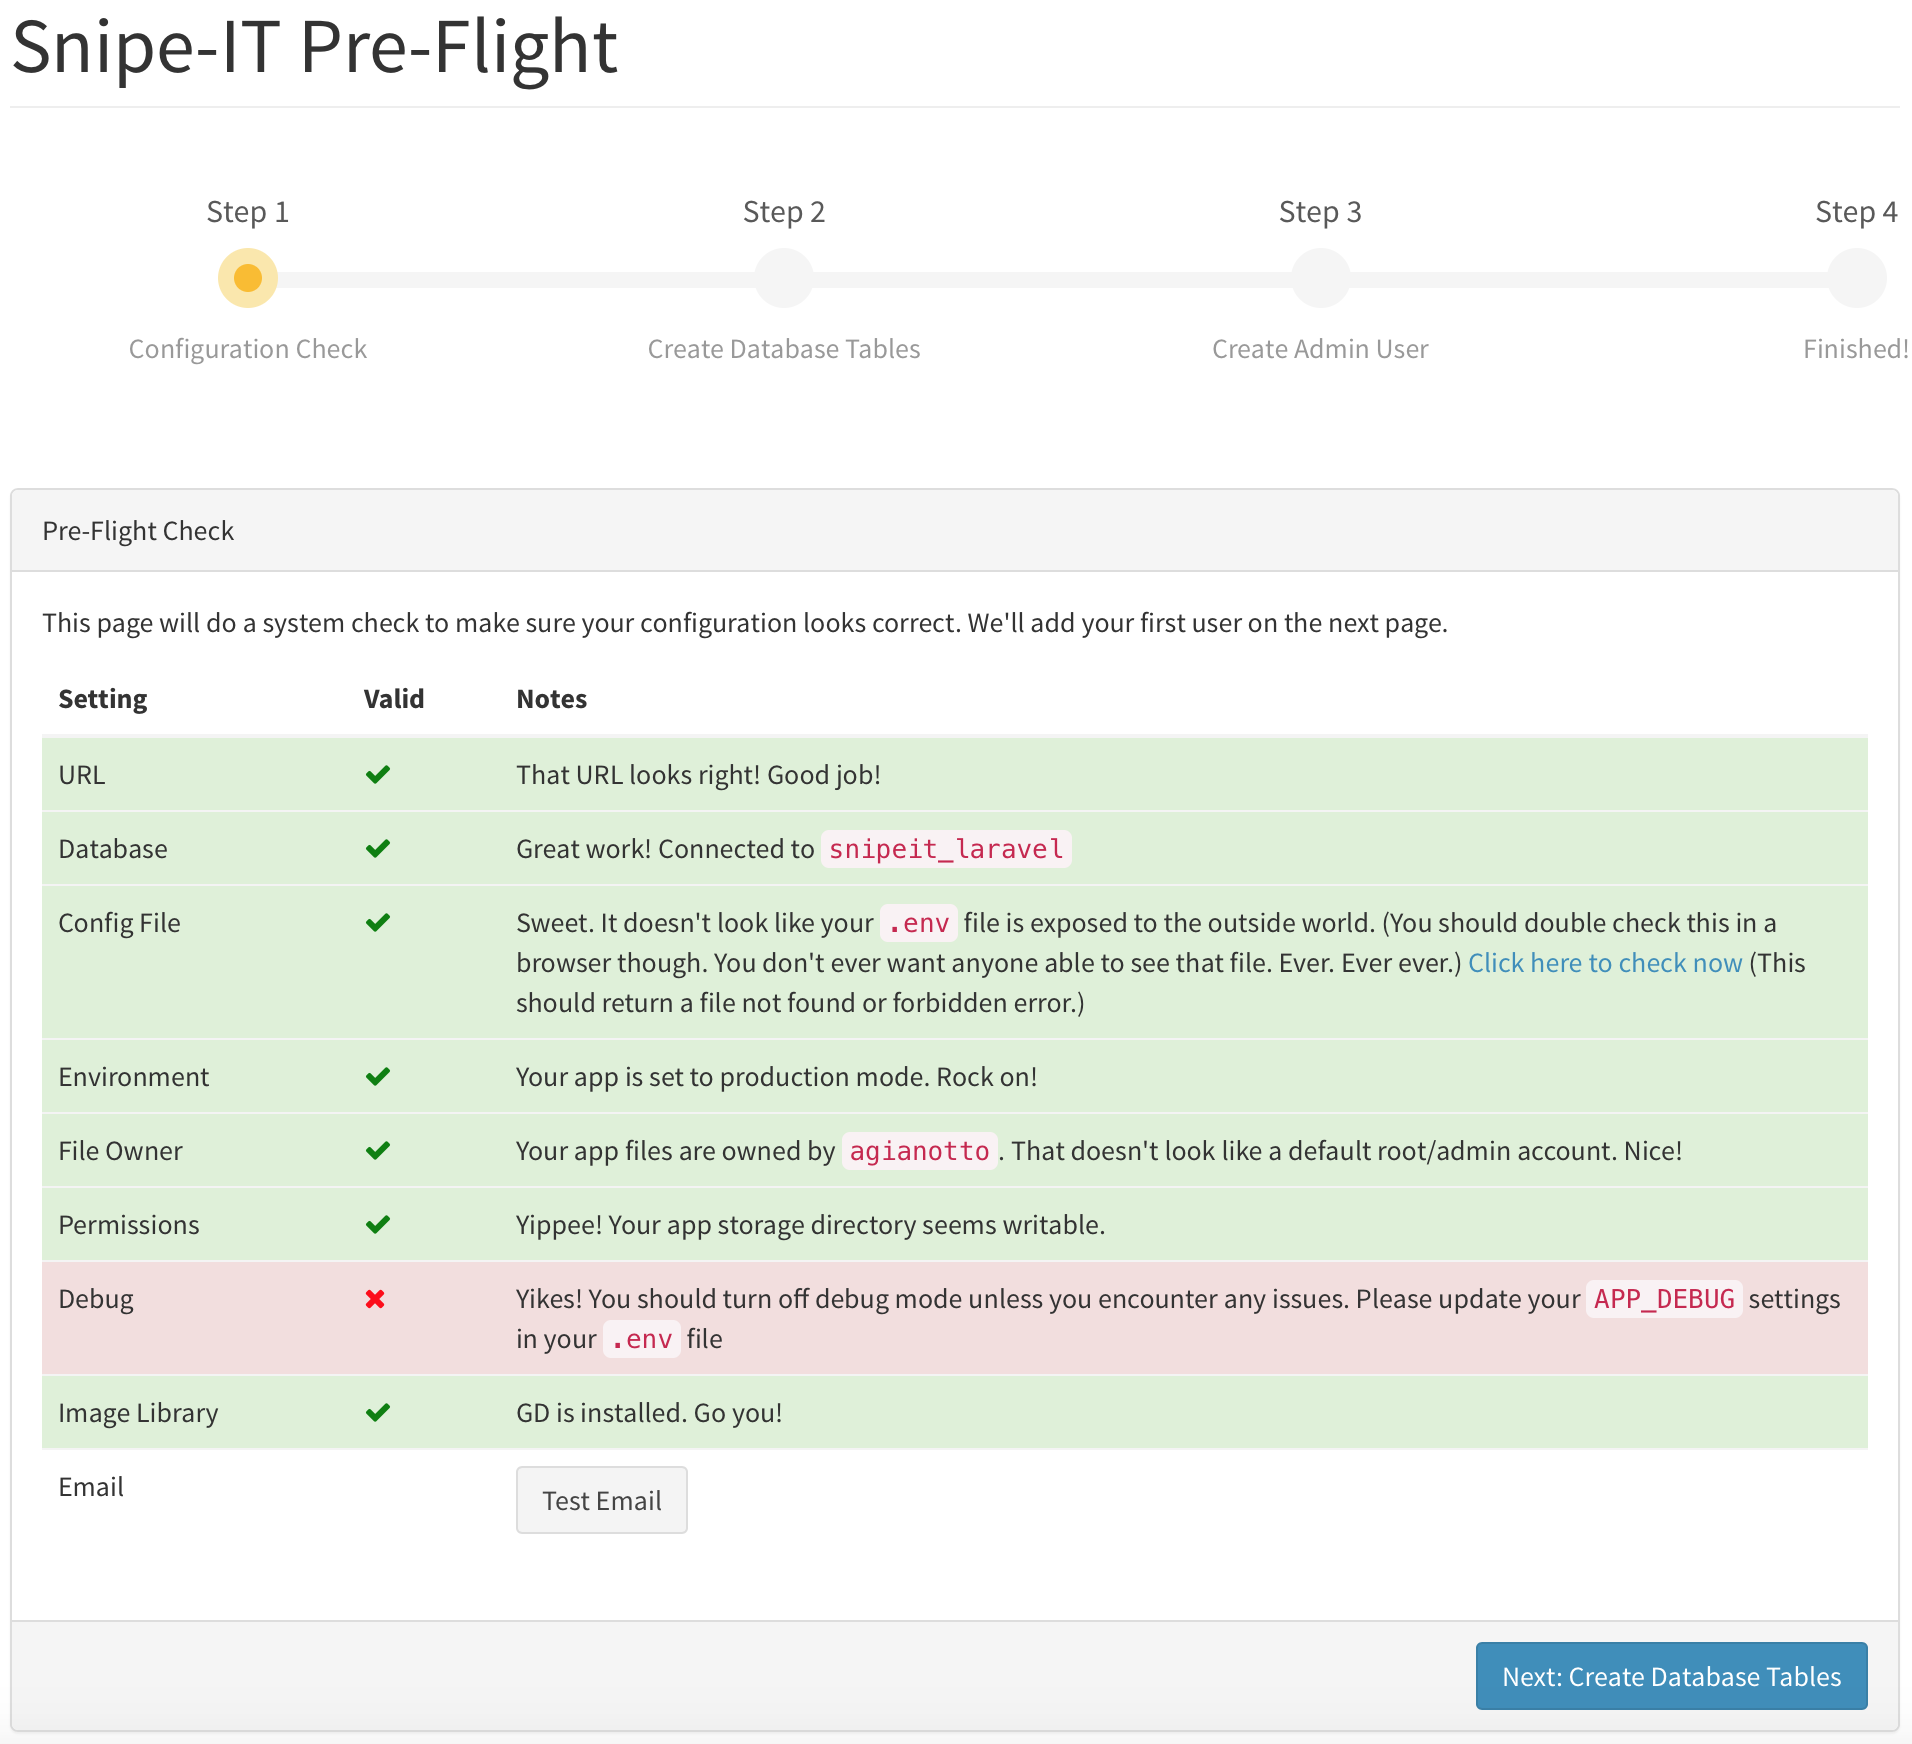
Snipe-IT comes with a pre-flight check and setup to help make sure your environment is set up correctly, create the database tables and add your first admin user.

If you've been able to get through the first few steps (Downloading, Configuration, and Installing Dependencies) successfully, you should be almost ready to start the pre-flight.
Additionally you will also need to modify your proxy as described in the next section (server-configuration) so that the pre-flight page will be displayed when you navigate to the server. This is usually only a few lines of code.
Just go to your Snipe-IT URL (whatever you've set that to) in a web browser, and you should be redirected to the Pre-Flight screen. If you see a "Whoops" error or some other error, check the Common Issues page to see where you might have gone wrong.
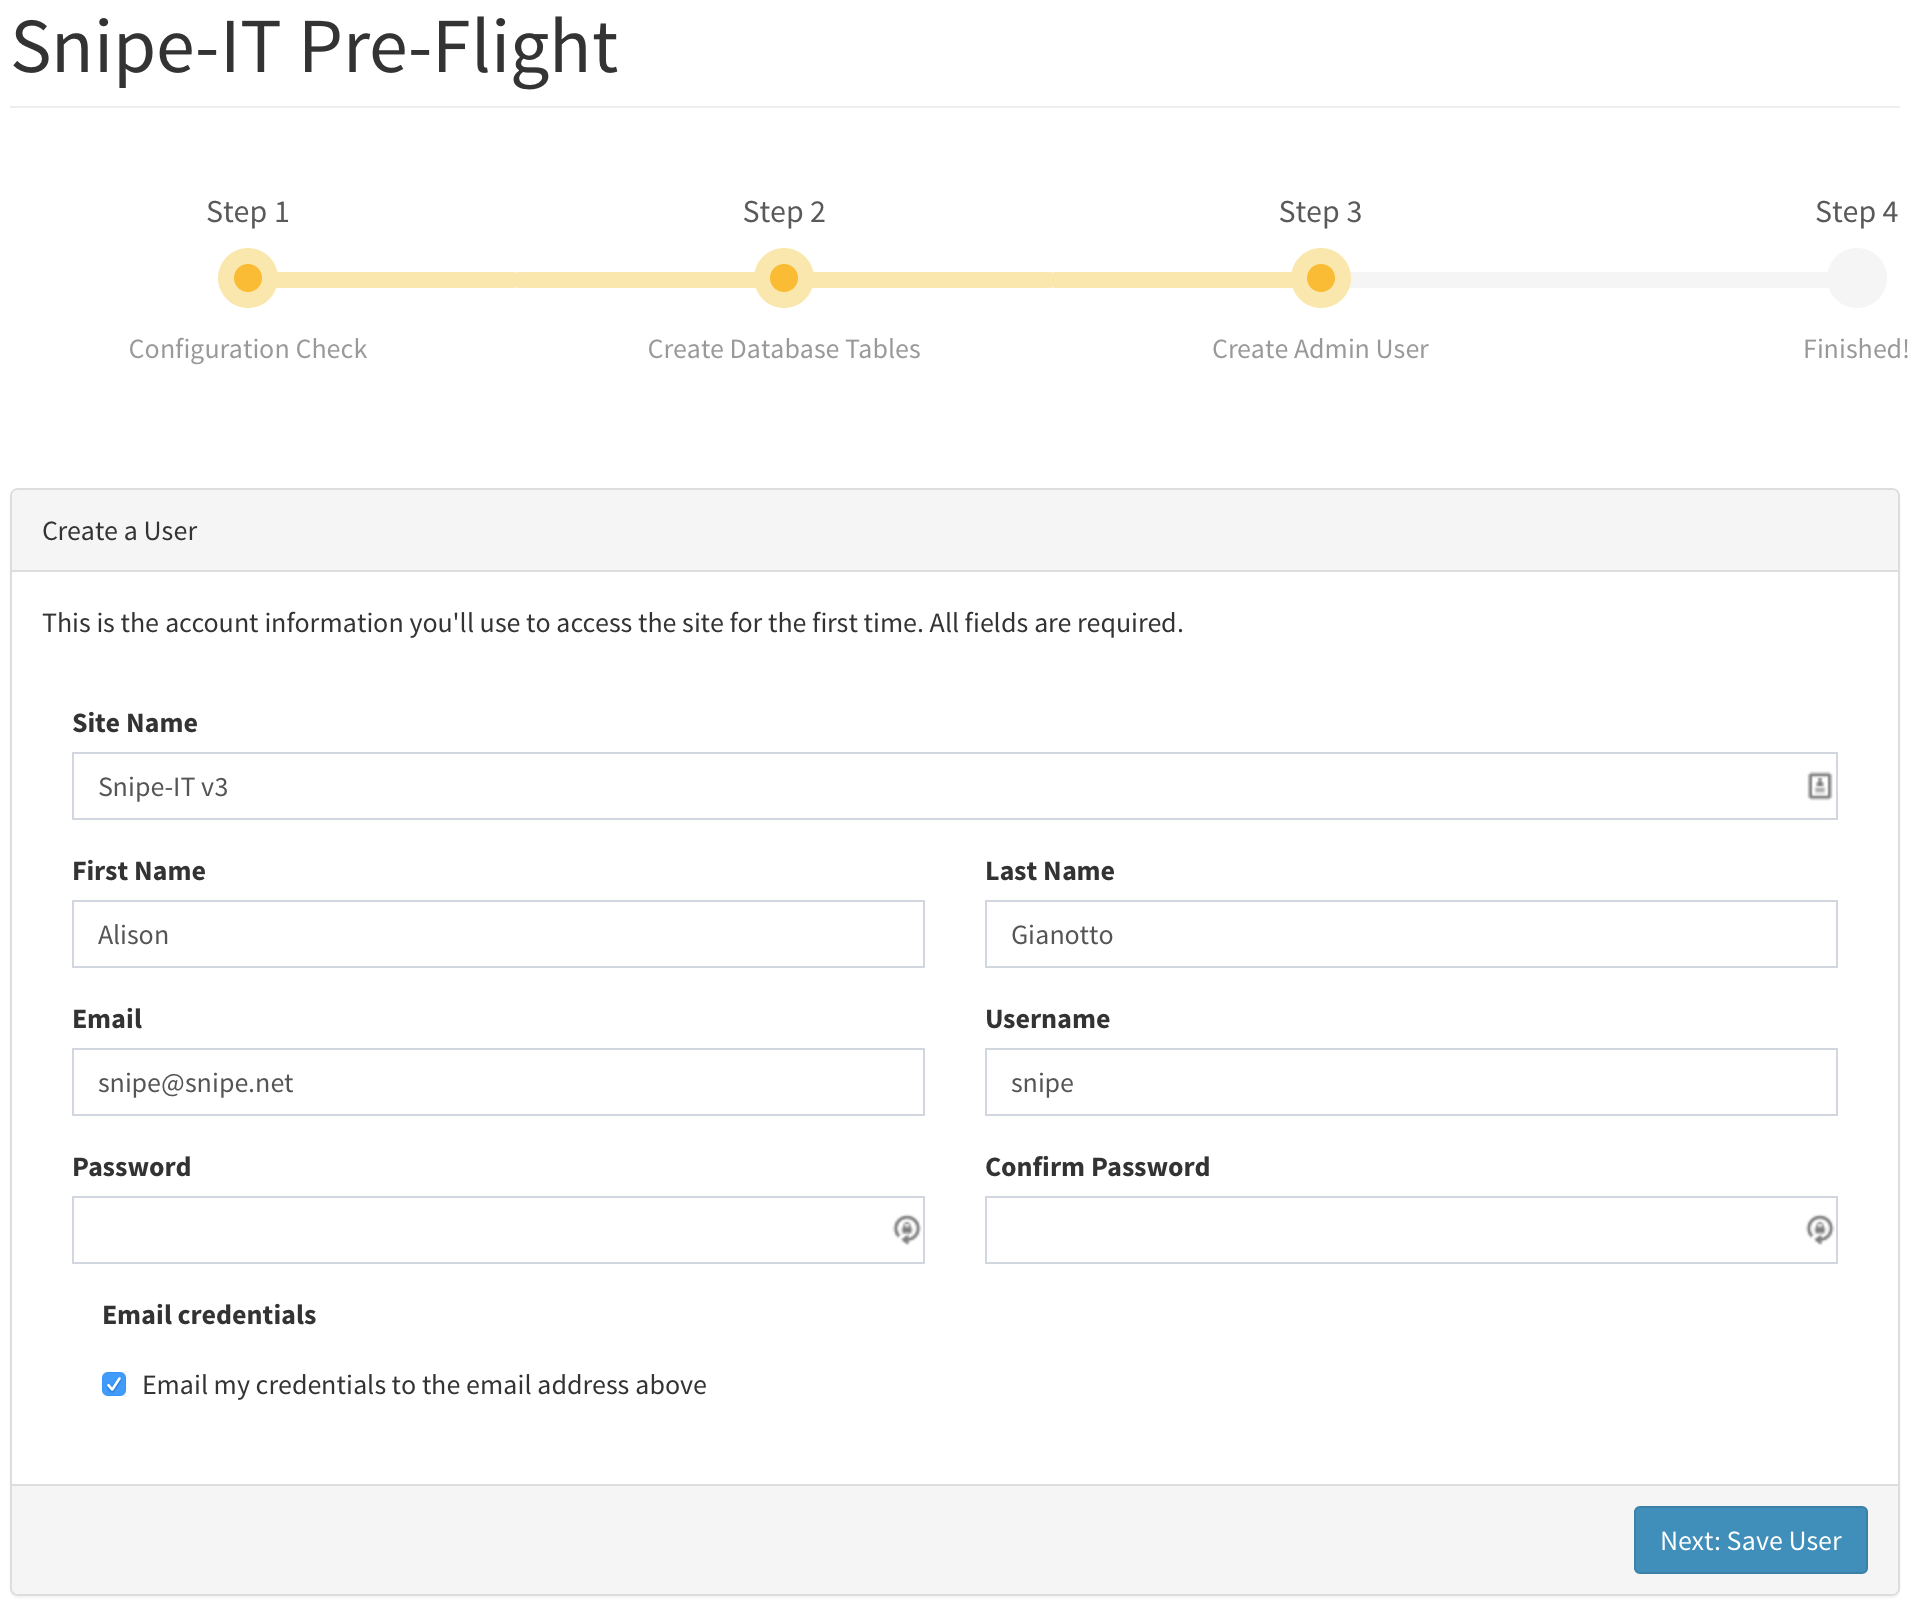
Simply follow the on-screen instructions. You'll be prompted to create your first user, with an option to email yourself the credentials you used to create your user.

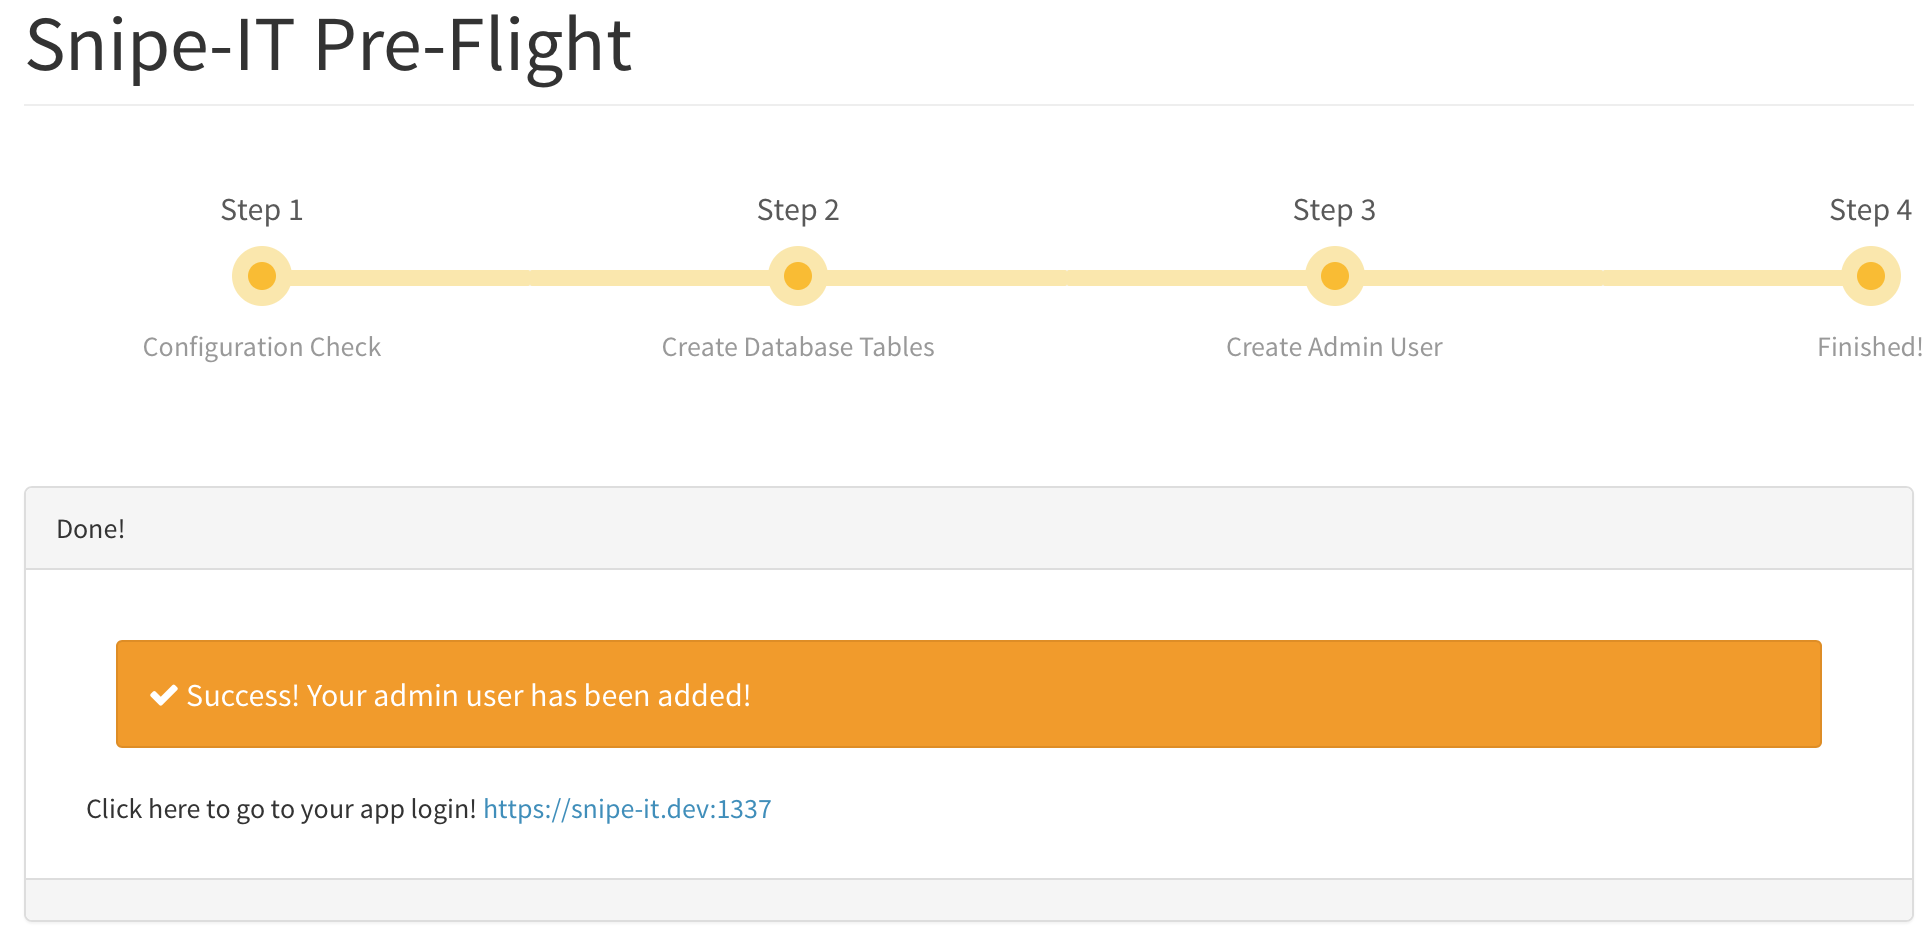
If you've entered all of the fields correctly, you'll see a final message informing you that your Snipe-IT setup is complete and prompting you to login.

If you need to restart the pre-flight before you've added a user, you can do so without breaking anything. The database migrations page will just show you that there's nothing to migrate if your migrations have already completed.
If for some reason you need to delete your database or database tables and start the pre-flight again, be sure to clear your browser cookies before attempting to restart the pre-flight.
.
Updated 7 months ago
