WAMP
1. Install Composer (composer.exe)
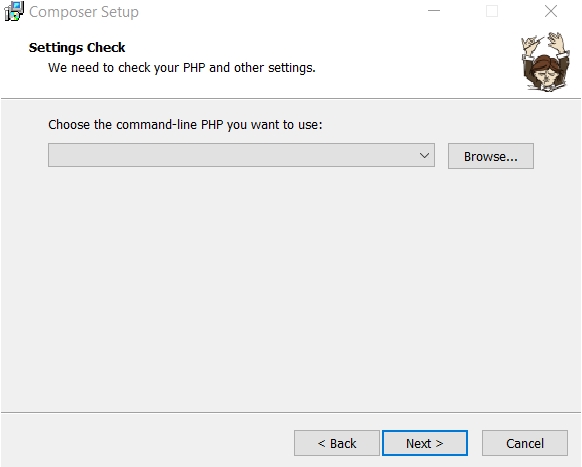
Installing composer
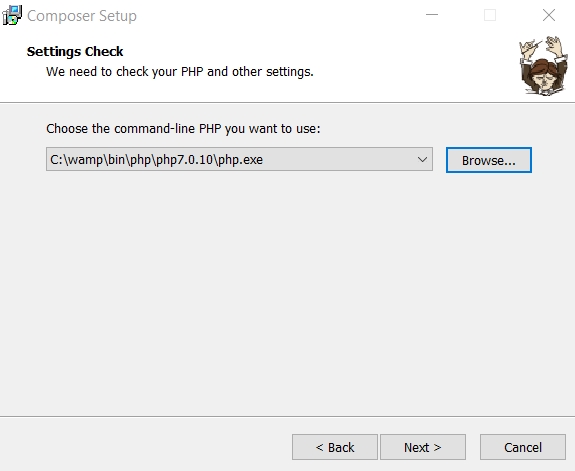
Browse to C:\wamp\bin\php\php7.0.10\php.exe.
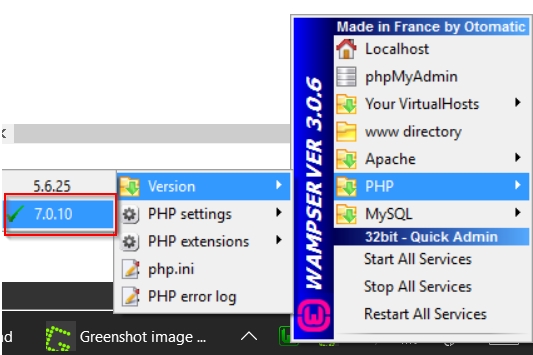
2. Select your version of PHP in WAMP
Select PHP 7+
3. Set up your database
Open your MySQL console:
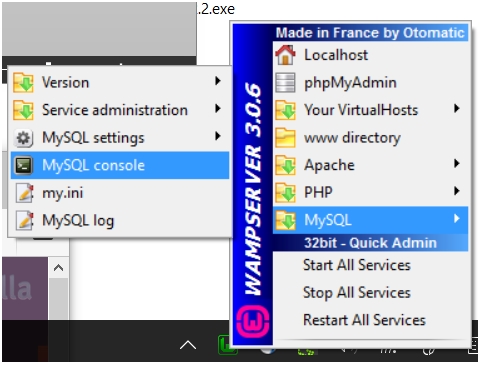

Press enter for default password, or enter your master MySQL password if you changed it to something else previously.
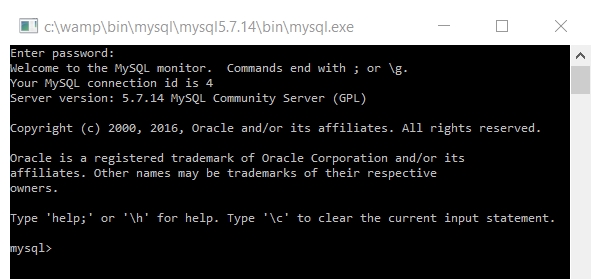
Run the following commands to create and verify database:
create database snipeit;
show databases;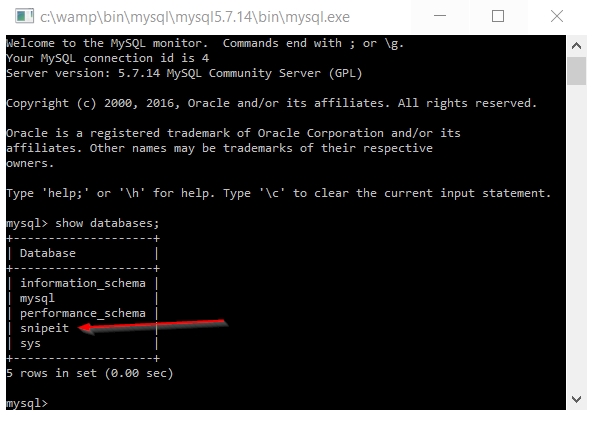
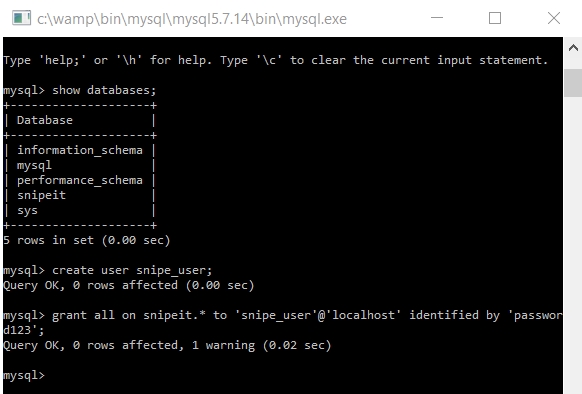
Create a database user and grant access to your new snipeit database:
create user snipe_user;
grant all on snipeit.* to 'snipe_user'@'localhost' identified by 'password123';
(Change password123 in the example above to something more secure, please.)
4. Extract and configure Snipe-IT and run composer
Download and exact Snipe-IT to c:\wamp\www\snipe-it.
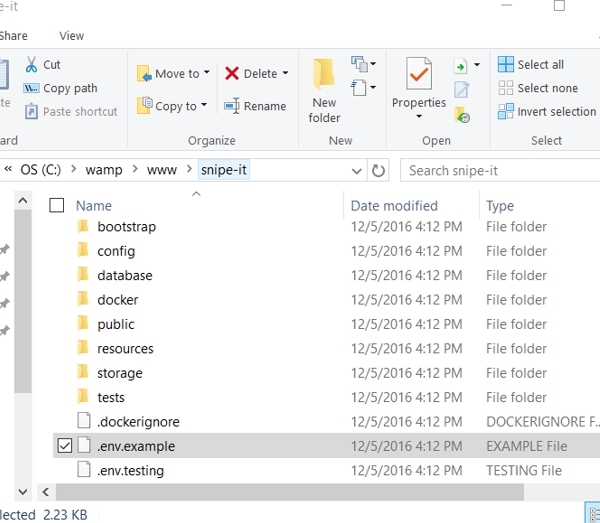
Edit .env.example
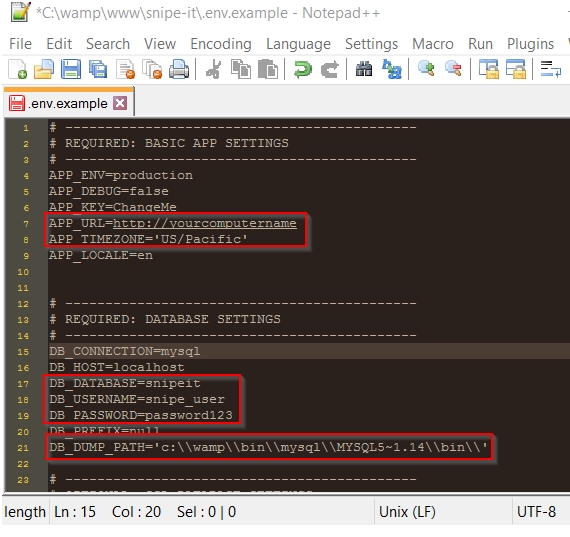
See the Configuration options for more information on how to configure your Snipe-IT installation.
Save your edited env.example as .env
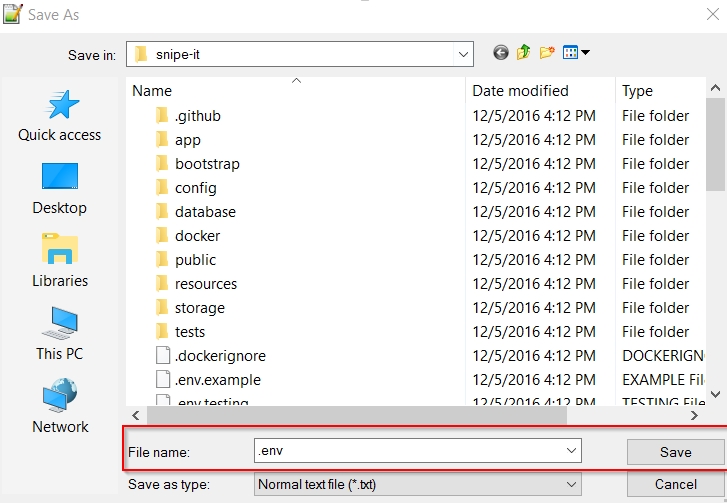
Open command prompt then change directory to c:\wamp\www\snipe-it\. Then run:
5. Generate your app key
Run:
This will update the app key in your .env file:
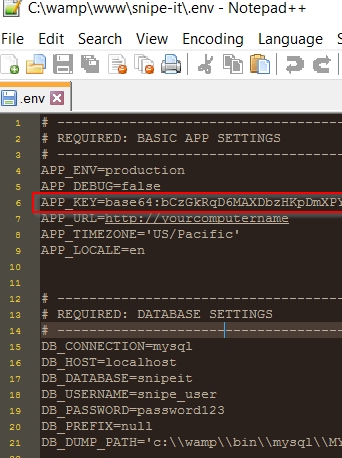
IMPORTANTBe sure to keep this app key in a safe place, as it is necessary for decrypting any encrypted fields you might add.
6. Update your virtual host settings
Edit `httpd.conf. Remember to the change http://yourcomputername to whatever address you wish to access Snipe-IT by. (These values are case-sensitive.)
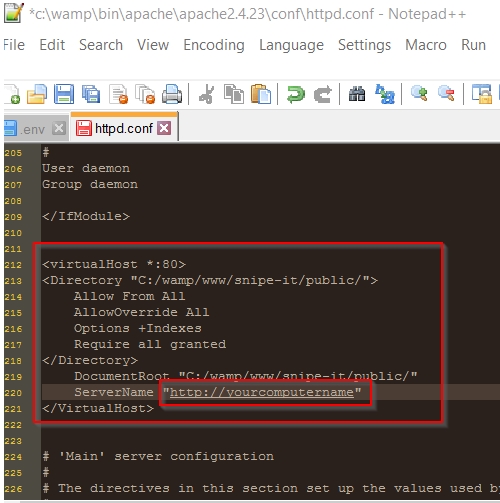
Then restart WAMP:
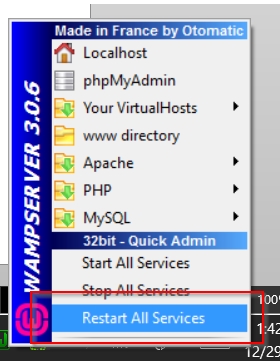
Then browse to the address you set up in httpd.conf, and you should see the Pre-Flight & Setup screen. Follow the on-screen instructions, and you're all set.
Updated 7 months ago
