
Overview
When your Snipe-IT installation is first set up, it can be a little overwhelming to figure out where to get started.
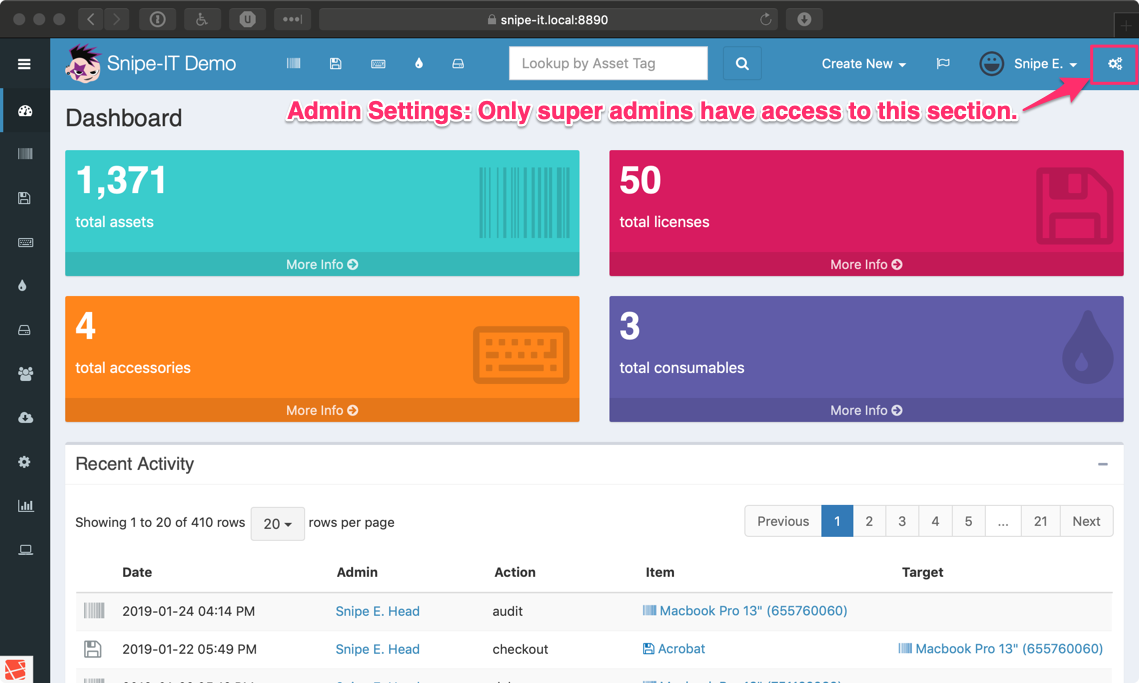
The first place to start is usually your Admin Settings. We go through each of the specific admin options one by one in the Admin Settings section of this documentation, but that's where you can set your branding (logo, etc), alert preferences, LDAP configuration, two-factor authentication and so on.
There are some high-level concepts you should be familiar with before you start adding items. We discuss those below.
Assets
Assets are anything important enough to warrant an asset tag, where the specific device really matters. Laptops, desktops, mobile phones, tablets, etc are common items that would qualify as "assets". All assets must have a unique asset tag.
Assets can be checked out to people (preferred), locations, or other assets. As mentioned elsewhere in the documentation, we generally recommend against checking assets out to non-people, as locations and other assets cannot be help responsible in the event of damage, theft, or loss.
Asset Tags
Asset tags are a unique identifier for assets within your system. Each one must be unique, and is often used in conjunction with Asset Labels. They identify each unique piece of hardware so that you know which specific device it is.
For users who don't need asset labels, the unique serial number of each device is often used as the asset tag, or you can turn on auto-incrementing asset tags in Admin > Settings, which will generate a unique asset tag for you when you create new assets.
Checkin/Checkout
Checking in and checking out are two primary concepts within Snipe-IT. When you checkout an asset, license or accessory, you’re marking them as being in the possession of someone else. This means that they cannot subsequently be checked out to another person until they are checked back in. This prevents “double-booking” assets, where one asset has been promised to or assigned to multiple people.
When an employee leaves your company, or if an asset, license or accessory is not functioning properly, you would check it back in. Checking it back in indicates that it’s back in your possession, or potentially out for repair. It’s up to you to decide what status to assign it, based on the condition of the asset.
Status Labels
Status labels are used to describe the state of the asset. You can add as many status labels as you’d like. Each status label will have one of four characteristics that describe the state of assets with that status label:
| Status Label Type | Description |
|---|---|
| Undeployable | These assets cannot be assigned |
| Deployable | These assets can be assigned (or are currently assigned) |
| Archived | These assets cannot be assigned, and will only show up in the Archived view |
| Pending | These assets can not yet be assigned, but they eventually will be (re-imaging, etc) |
Use status labels however you see fit. You can just keep the starter labels we set up for you, or you can flesh out a detailed set of statuses that will make sure your team always knows exactly what’s going on with each asset.
If you set up your status labels well, they can be enormously useful. A status label that is a pending label named “Awaiting Re-Imaging” tells your team that this item can’t be deployed because it’s still in the re-imaging stage and isn’t ready yet. Once it’s ready, your team can update the status to “Ready to Deploy”, and then it’s added to the pool of available deployable resources.
*Once an asset that belongs to a status that is "Deployable" is assigned to a user, it assumes the meta status of "Deployed".
Accessories
Accessories are generally anything you'd have one or more of where the item itself isn't that special, so it doesn't need an asset tag. Keyboards, mice, etc generally fit well into this category.
Accessories can be checked out to people or to assets.
Components
Components are generally things like RAM, hard drives for a RAID system, and so on. These are items that get checked out to an asset.
Consumables
Consumables are items that get... well, consumed. Printer paper, toner, and so on would be examples of consumables. Consumables can only be checked out to people, and they do not get checked back in.
Misc
Color Tags
Several sections of Snipe-IT allow you to customize a color tag associated with the entry. These are entirely optional, and allow you to use the color picker to show a square indicator next to the entry in list and detail views. This can be helpful if you use specifically colored labels for different locations, departments, etc.


You can use these selectively, or not at all. Only entries with color tags will show the colored box:

In the dropdown selection lists, if an entry has an image associated, it will appear next to the entry. If there isn't an associated image, the color will show up in a square box. If the entry has neither an image or a color, the entry value will be displayed without either.


Column Selection
In most of the table-based interfaces in Snipe-IT, you have the option of showing or hiding specific columns, so that columns you don't care as much about don't take up space on your screen, and columns you do care about are easily visible.
To use this feature, simply click on the icon that looks like a split-pane window in the top-right of the table interface. Checking and unchecking the checkmarks next to the column name will show and hide the columns accordingly.

Updated 3 months ago